HARD SURFACE 3D Print Design Challenge
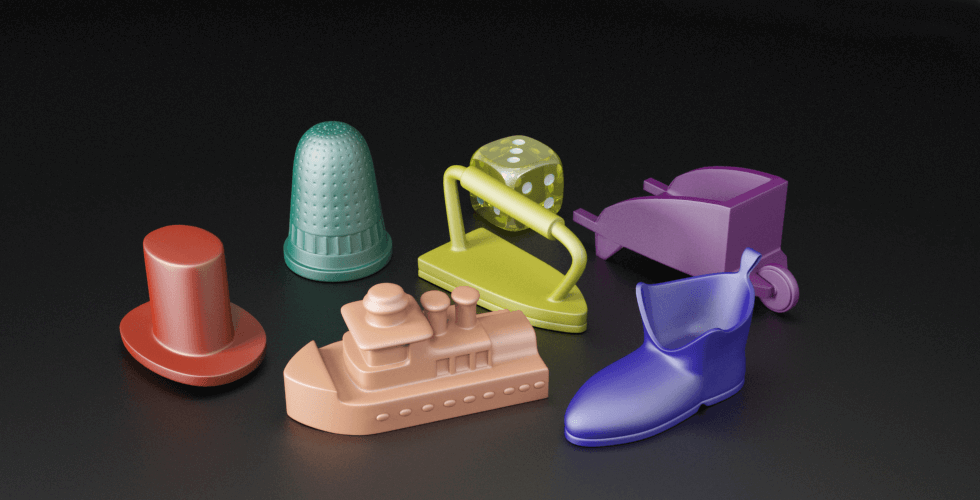
Design a Monopoly-style token that will be 3D printed.
Your token must be:
- Hard-surface modeled
- Geometric in design
- Clean and simple
- Structurally strong
- Printable without advanced techniques
This is a Beginner CAD Modeling Challenge — not a sculpting project.
STEP 01: THE DESIGN PROCESS
CLICK HERE FOR DETAILS FOR THIS STEP
USE CANVA to create this. You login using your School Email. Link is below
YOU ARE NOW READY TO MOVE ONTO STEP 2 BELOW:
STEP 02: ORTHOGRAPHIC QUIZZES
COMPLETE THE QUIZZES AND UNDERSTANDING OF THE ORTHOGRAPHIC VIEWS IN D2L/ GOOGLE CLASSROOM.
Once you have submitted the quizzes – you now need to sketch your pencil sharpener in STEP 04!
STEP 03: DESIGN YOUR GAME PIECE
FORM a group of no less than 2 and no more than 5.
The lesson below, sets up the groundwork to start our project, going over the importance of researching, analyzing and bringing-in influences prior to designing our conceptual vehicle that delivers groceries door to door.
ASK YOUSELF:
- What theme does your token represent?
- What geometric symbol fits your theme?
- How will it remain stable?
- Where is the centre of gravity?
Submit:
- 2–3 thumbnail sketches
- One chosen final design
- Measurements
THINK ABOUT:
Does it need supports? (Try to avoid this)
Where could this break?
Are any parts too thin?
Are there overhangs greater than 45°?
🚫 STRICT DESIGN LIMITATIONS
To keep this project achievable and printable, you MUST follow these rules:
🔷 1. Hard Surface Modeling ONLY
Your token:
✔️ Must be geometric
✔️ Must use basic shapes (cube, cylinder, sphere, cone)
✔️ Must use bevel, extrude, loop cut, inset
✔️ Must have clean edges
❌ NO sculpting tools
❌ NO organic forms (animals, people, faces, food, blobs, curves that flow naturally)
❌ NO cloth simulation
❌ NO metaballs
❌ NO subdivision surface smoothing
Think:
- Chess piece
- Robot
- Trophy
- Building
- Tool
- Vehicle (simple block style)
- Crown (block style)
- Controller (low poly style)
NOT:
- Dog
- Person
- Hamburger
- Flame
- Tree
- Cloud
- Skull
- Wavy abstract sculpture
🔷 2. Shape & Structure Limitations
Your design must:
- Be ONE solid object (no separate floating parts)
- Be manifold (watertight)
- Have a flat base
- Stand upright without support
- Be stable and balanced
No:
- Thin spikes
- Tiny fragile details
- Hanging parts
- Long skinny arms
- Unsupported overhangs
🔷 3. Geometry Rules
To keep this beginner-friendly:
- Use fewer than 50 main modeling actions
- No modifiers except:
- Bevel
- Solidify (if needed)
- No Boolean operations unless teacher approved
- No imported models
- No downloaded assets
You must build it yourself from scratch.
🔷 4. Size Restrictions (For Printing)
- Maximum height: 1 inch tall
- Must fit inside a 2 X 2 inch square base
- Minimum wall thickness: 2mm
- Minimum connection thickness: 3mm
- Base thickness: minimum 4mm
If it is too thin — it will break.
If it is too tall — it will tip.
ROUGH DESIGN SKETCHES
INSTRUCTIONS: Everyone in your group should take a blank paper and start to make rough sketches. These sketches will be used for STEP 5 when you make orthographic views before you start your model.
SUBMIT FOR THIS STEP:
- All design styled drawings and any research.
- A final drawing of the product in isometric view.
STEP 04: PRACTICE DRAWING
Drawing Objects in Orthographic Views is a form of conveying analysis and design ideas, it is a fundamental skill set or a language of communication that most designers, architects and engineers use in their own professional practice- never too early to learn such a skill set.
In this step, you will draw a pencil sharpener.

SUBMIT: An image of a pencil sharpener with your orthographic drawing. See example Above. Tutorials are below by Mr. Balian
STEP 05: FINAL ORTHO DESIGN SKETCHES
INSTRUCTIONS: Using the pencil sharpener as a reminder of how to do this, take your ISOMETRIC DRAWING from STEP 3 to create your ORTHOGRPHIC drawings.
MY EXAMPLE:
STEP 06: BUILD YOUR FINAL PRODUCT IN BLENDER
Submit your STL and OBJ file
